Create Staging WordPress & Installing Templates
Create a Staging server
-
Access Siteground
-
Login here Main Access
-
Click on “Websites”
-
Choose “bingostaging.com” → Sitetools
-
Click “Domain” → Subdomain
-
create sub-domain, type in client’s company name → install fresh WordPress
Choosing Theme Framework
- Astra Theme (best)
- KeyDesign Framework (alternative choice)
- ThemeForest - Industry specific themes (tourism/travel agent → Havezic) (Membership courses → Porto) etc
- Elementor TemplateKits (for very specific designs)
#1 How to Install Astra Theme?
1. Navigate to your WordPress Dashboard.
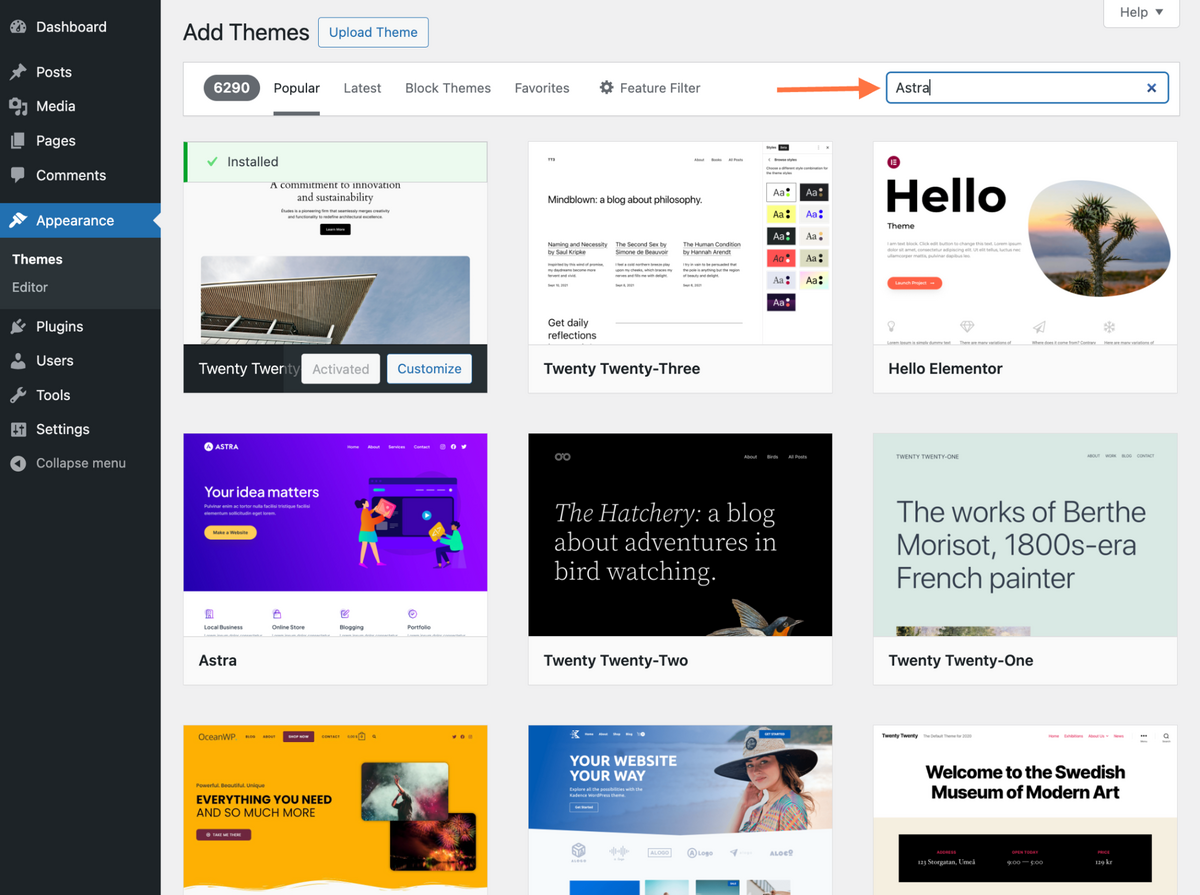
2. Head over to Appearance > Themes, and click on this Add New Theme button.

3. You can search for the Astra theme through this search bar or upload the theme file directly from your device.
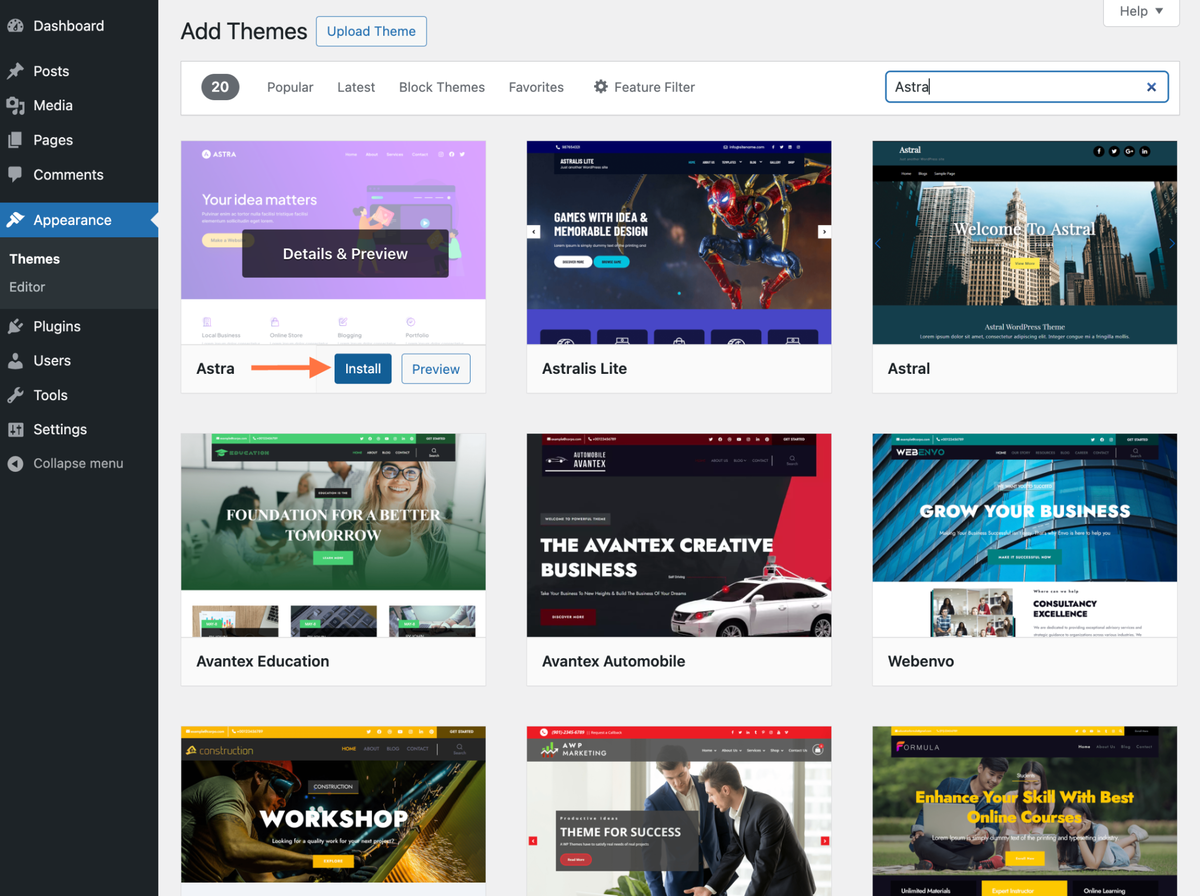
4. Install the Astra theme on your WordPress dashboard.
5. Activate your Astra theme.
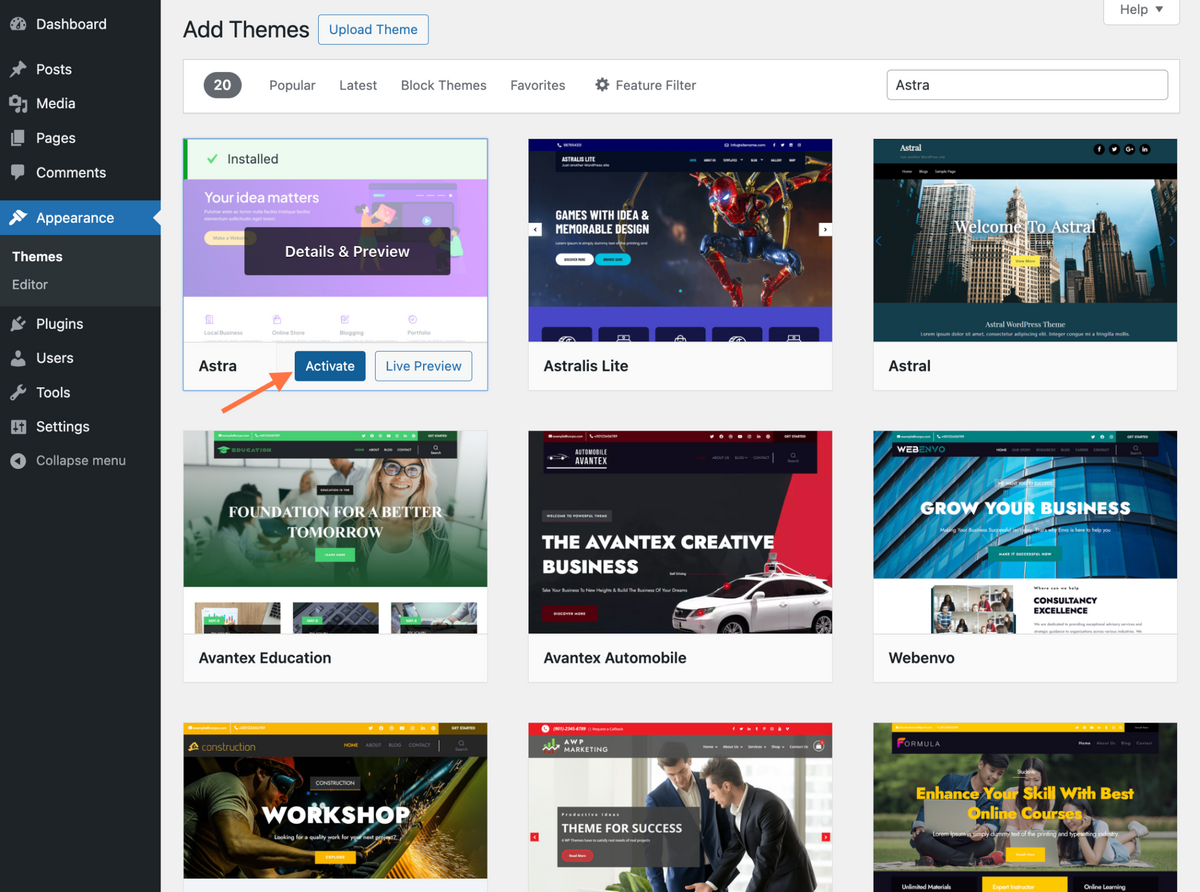
Congratulations! Astra has been successfully installed on your website! You’ll now see a new Astra dashboard option available. Access it to begin customizing your newly installed Astra theme.

Activate Astra Pro
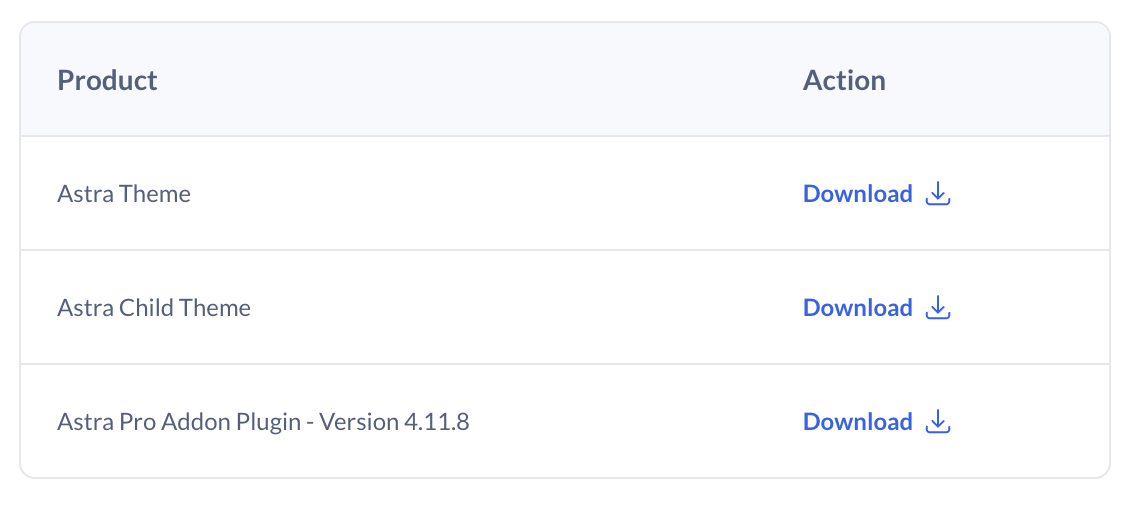
Download the Astra Pro Zip file.
Upload the Plugin to WordPress.
- In your WordPress dashboard, go to Plugins and click on Add New Plugin.

- Next, select the Upload Plugin option, then choose the zip file you downloaded in Step 2.

- Click Install Now to upload the plugin.

- After the upload is complete, click on the Activate Plugin button to activate the Astra Pro Plugin on your website.

4. Activate the Astra Pro Addon License.
Once the plugin is activated, you’ll need to activate the license for the Astra Pro Addon.
License here: ed60903d8412531cace683be010f0cff
- Enter the license in Astra > Dashboard. Click on the Activate button when you’re done.

Once you’ve completed these steps, you’re all set to use the additional features and functionality offered by the Astra Pro Plugin!
Import "Starter Templates"
- Choose Elementor
- Choose template.. if premium starter package is chosen, proceed to the following step.
(optional) Activate "Premium Starter Templates"
- Install "Premium Starter Templates" zip file
- deactivate "starter templates"
License 59ac5f1364a9651cf86b6eeced2dd24c
Activate Child Theme
Scroll to bottom of this page, and download the required file. "astra-child.zip"

Step 1 – Dashboard and navigate to Appearance > Themes > Add New Theme.

Step 2 – Click on the Upload Theme (located at the top of the page), choose the .zip file of your child theme, and click on the Install Now button.

Step 3 – Activate the Child Theme. Keep in mind that though the Child Theme is the active theme, it can’t work without its parent theme – Astra. Thus, you need to have both themes (Astra theme and your Child theme) installed.

Licenses:
Astra Pro ✅
ed60903d8412531cace683be010f0cff
Premium Starter Templates ✅
59ac5f1364a9651cf86b6eeced2dd24c
Ultimate Addons for Elementor ✅
3aaaa44d662252aef0785f27065a6a20
Spectra Pro ✅
16c13457fa59a09e0aebe086162cc78a
Convert Pro
c878dcf17cb8a156f6aaded7c487ade6
Schema Pro
ddf785d6f59ad41d8da8675c8f51b6b5
Ultimate Addons for Beaver Builder ❌
51ee258d2d31cb1fd6930d5a95a070cc
WP Portfolio
a50085ba8677f2dcbb626bc866803ac6
Want more instructions?
Visit Astra official documentation page
#2 KeyDesign Framework
Download Themes
- Get installation files from Daniel (or via Slack)
Installing Template
- Follow official guide here
#3 Envato Themes
Download Themes
- Get installation files from Daniel (or via Slack)
Installing Template
- Follow official guide by their own theme documentation
#4 ElementorKits
Install "Hello" theme
- Appearance → Add theme → search for "Hello", install and activate
- install Elementor and activate
Install Elementor Pro
- Add new plugin → upload Elementor Pro
- Download via attached files
- Activate license
- username blackflam85@gmail.com
- password ugx9}np]4spc
- license 2a18ddc491ac9ede825559283dd49597
Importing ElementorKits
- Add new plugin → search for "Envato Elements", install and activate (official guide)
-
Elements > Installed Kits > import the chosen template kit, e.g. “dentalkit”
Haven't choose which ElementorKits yet?
Troubleshoot errors?
Read Common Error Troubleshoot
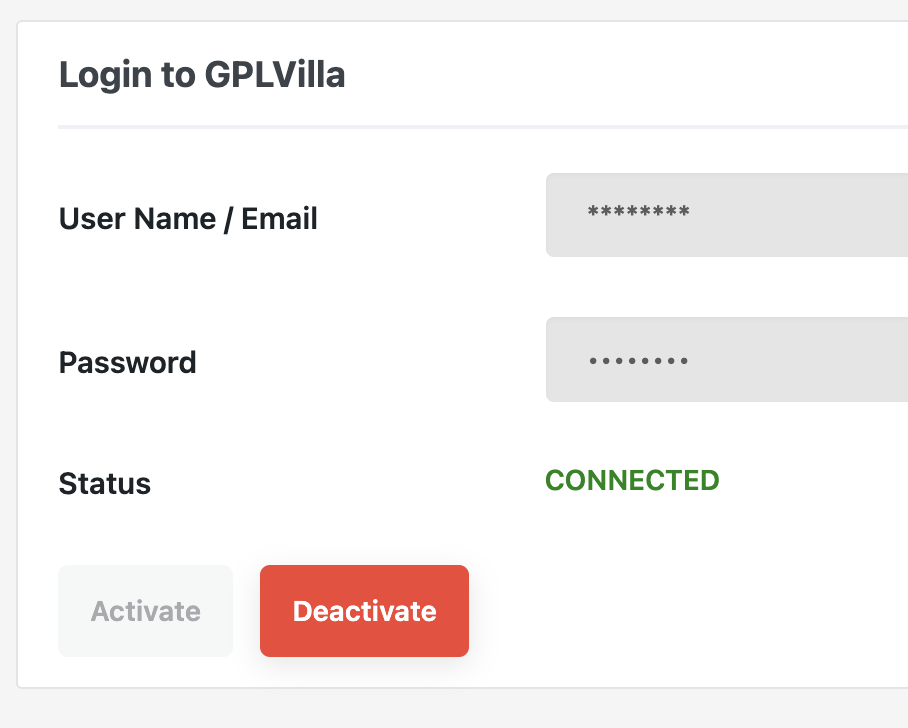
Install "GPLvilla" Plugin
- Download the plugin here https://gplvilla.com/p/gplvilla-auto-updater/
- Upload to website
- Activate this plugin
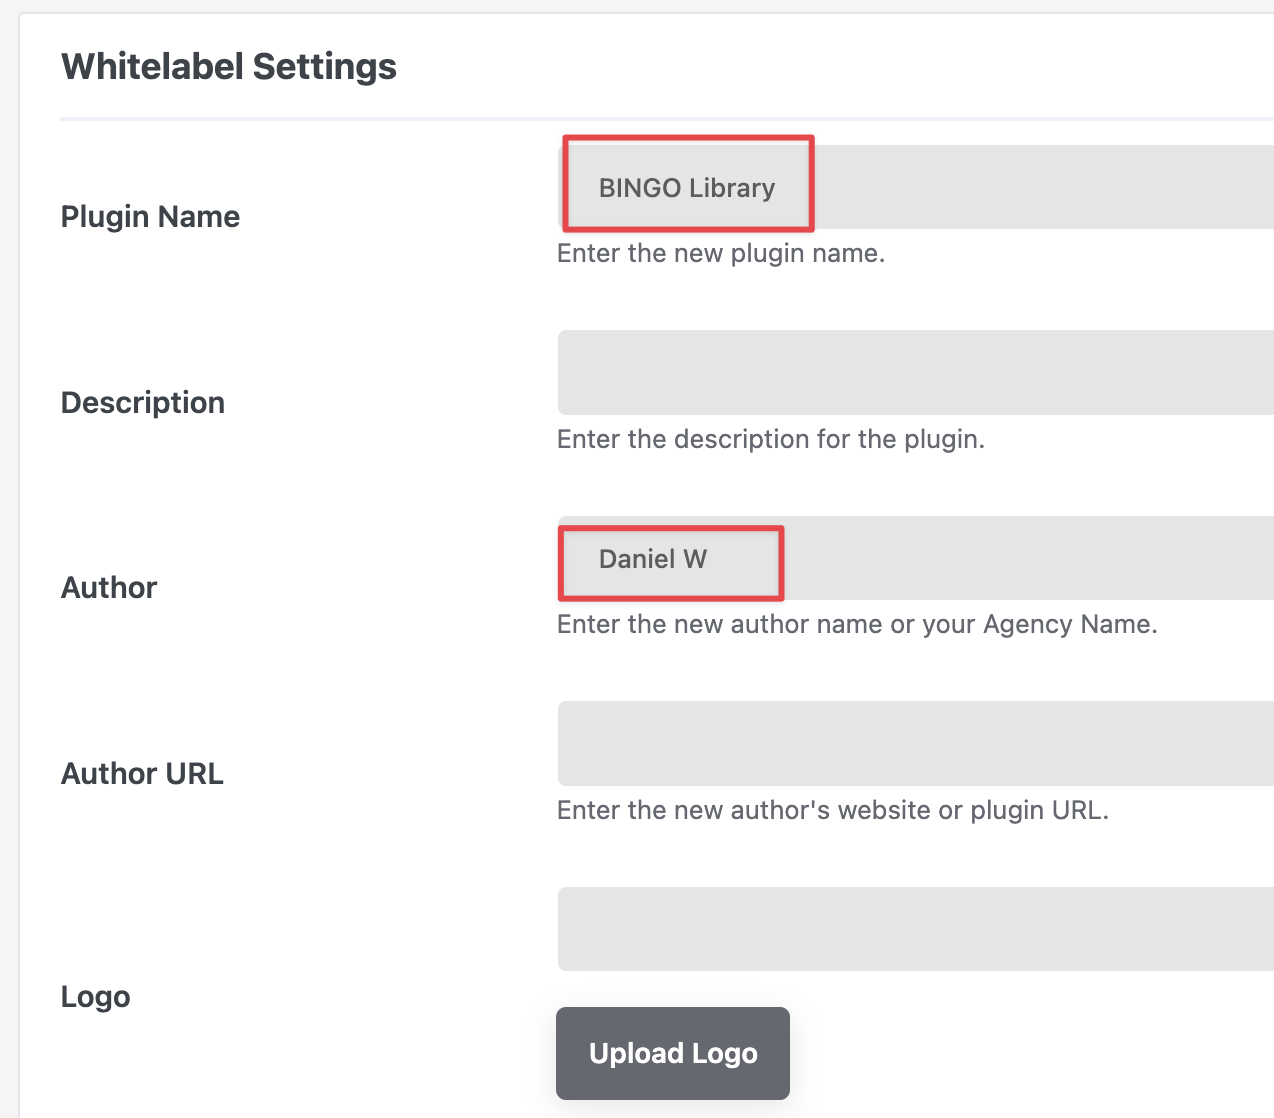
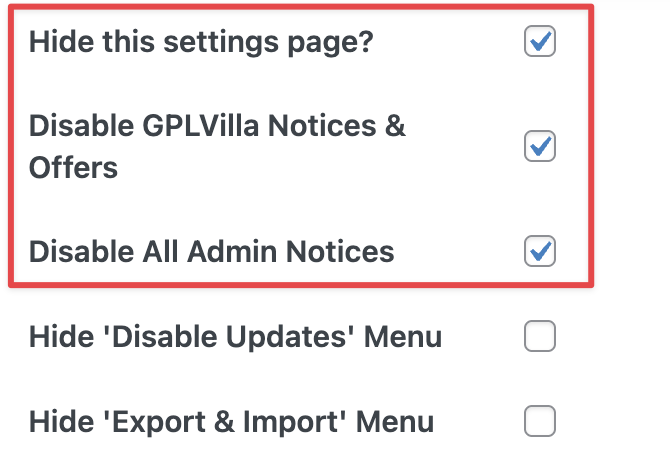
Whitelabel settings
- Dashboard → GPL Villa → Whitelabel settings
- BINGO Library
- Daniel W
How to Disable the whitelabel settings?
Deactivate and Activate the plugin to get White Label settings page back.
First Time WordPress Settings
Set a homepage
- Settings > reading > static homepage
- Select page for home and blog
Basic setup
-
Is Favicon inserted?
-
Posts - remove “hello world”
-
Pages - remove “sample page”
-
Appearance - remove unused themes
Settings
-
General
-
site title
-
tagline
-
timezone: Kuala Lumpur (depending client location)
-
-
Discussion
-
uncheck “email me whenever..”
-
Disable search engine crawl
- check “discourage search engines from indexing this site”
Create access for Daniel
-
Create new admin for “blackflam85@gmail.com” if haven’t
Update Header
-
replace logo
-
Edit buttons and insert client’s company details
- Update navigation menu
Update Footer
-
Company logo and tagline
-
Main menu
-
Privacy policy and terms of service
-
Social Media Icons: As applicable of course
-
Facebook
-
Instagram
-
Google
-
Tiktok
-
Etc
-
-
Contact Details
-
“Enquiry” button
-
Please include: Proudly Designed by Bingo Digital Marketing (link to https://bingodigital.marketing/)